DISCLOSURE: THIS POST MAY CONTAIN AFFILIATE LINKS, WHICH MEANS I GET A COMMISSION IF YOU DECIDE TO MAKE A PURCHASE THROUGH MY LINKS, WHICH ADDS NO COST TO YOU. PLEASE READ MY DISCLOSURE FOR MORE INFO.
Are you a beginner and are you clueless about how to set up your blog effectively in such a way that it’s super fast and your audience doesn’t need to wait for your interesting story?
Because we are talking about beginners, let’s start it from the beginning.
I recommend you to grab some popcorn because it might be a little longer as I will be discussing everything about how I set up my blog which is quick and responsive. Enjoy!
A blog is a regularly updated website or webpage usually run by one individual or a small group. Bloggers often write conversationally just like me.
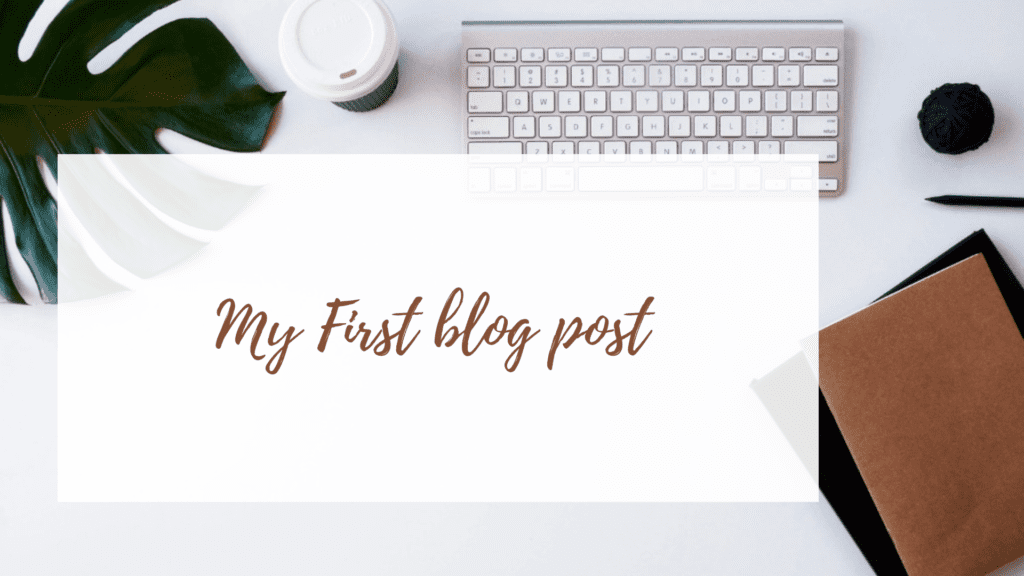
I have already shared why I started my blog, which you can check out in My first blog post.
First of all, what you need to start blogging is to sign up with web hosting. If you have already signed up for web hosting then it’s great. But if you are confused and looking for a great service provider then I will highly recommend Bluehost. You can sign up now and get up to 70% off.
Log in
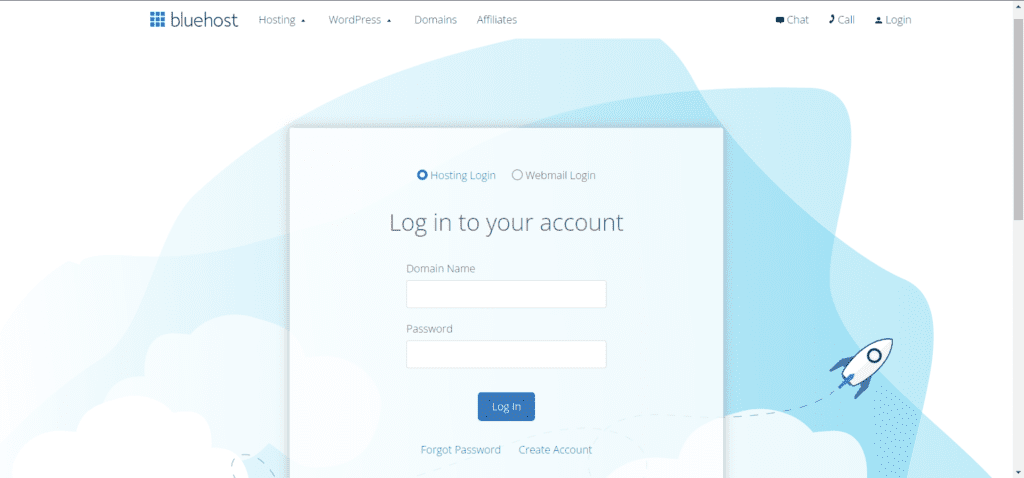
I am assuming you have signed up for a web hosting service. When you sign up with a hosting provider, you receive your unique user id and password in your mail. Use this id and password to log in to your Bluehost dashboard.
If you don’t receive your unique password then you have to set up a new password which is very easy. Head towards your payment confirmation mail. Scroll down below where you will see various account-related info. Click on change password there.
The first step is to login into your dashboard. (If your location is the US, Canada, Australia, or Europe) For login visit to Bluehost login page.
If you are from India, visit this Bluehost login page.
Once you Login, you will see your dashboard
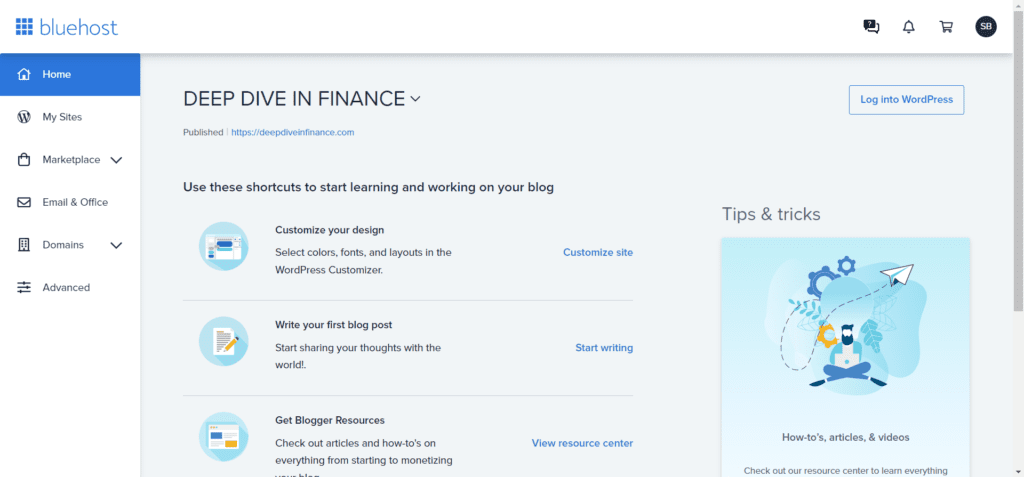
WordPress
Now if you want to explore your Bluehost dashboard, you can, else straight head towards log into WordPress. This is the best way to log into WordPress.
when you click log into WordPress, you will be redirected to WordPress dashboard automatically.
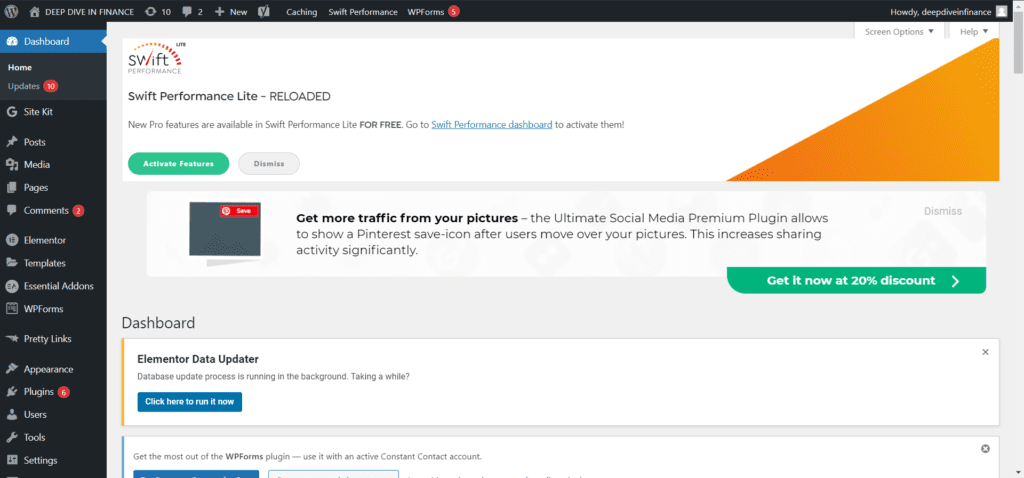
You will design, update, or do anything regarding your website from this dashboard.
Here you will get confused as to how to proceed now and how to make your blog live. Don’t worry at all, I will explain you in detail. Just stay with me till the end of this blog.
One thing that must be kept in mind is that you don’t need to rush as it will result in mistakes and an unprofessional-looking website.
You don’t need to panic, everything is simple and easy. It’s just a matter of time because you haven’t practiced this software. In a very less period, you can become an expert.
So, believe in yourself. If you have come this far, we will reach the heights.
Theme
Okay, now let me take my time to teach you how to apply a theme.
when we click on appearance the first item in the dialog box is the theme. Click theme —-> Add new —-> search —-> some of the popular themes are Astra, Genesis, and many more —-> scroll to a theme you like —-> install and activate.
How can we change how our website is gonna look?
Here the fun part begins. In the dashboard click appearance —-> customize —-> now spend some time and play around with different settings.
How to make your logo?
A brand logo is a very important element to set up a blog post. People will recognize your website with your brand logo.
You can make your free brand logo from two platforms.
- Logomaker.com
- Canva (How to use Canva is a vast topic and I will cover it separately)
I have made my logo from Logo maker for free and saved it as a low-resolution file.
Here is one catch, Less the details in the logo, the better the quality will be.
You can consider Canva also, a beautiful platform to create your logo, Pinterest pins, your blog’s featured images, and many more. Yes, all for free. You can add as many details as you want in Canva and you will not lose any details.
You can create high-quality logos, images, pins, posters, and many more. For free and without any time limit. Isn’t it amazing!
Pages
The next important step to set up a blog is create pages.
Before we create blog posts, we need to create pages like the home page, blog page, disclosure, etc.
The blog post we will create will show up on one of these pages only so we have to create pages first.
To create a page, click on pages on dashboard —-> add new —-> Enter the title you want to give to your page and that’s it.
You need to save the draft for now because we have to do a lot more with our page before making it live.
Pro tip: You should create your home page and blog page first.
By default, all the blog posts you will create will be saved on the home page. Fortunately, all control of your website is in your hands. You can go to settings in the dashboard —-> reading —-> A static page —-> home page for home and blog page you created for blogs.
Hurry, Time is passing 🙂
Did you know, you can get complete access to the internet world for as low as $2.95 per month?
Sign up today to get the most of benefit.
Menu
The next step to set up your blog is to create a menu.
You can add the pages you created in the menu section, because of this we created our pages first and then the menu section.
How can we edit our menu section?
Click on appearance in the dashboard —-> menus.
You can edit your menu as per your need.
In case you require a drop-down menu. Let me teach you very quick how to create a drop-down menu!
Appearance —-> Menus —-> Now is the trick part —-> after arranging the menus in order, arrange the drop-down menu under which head you need and drag it to the right.
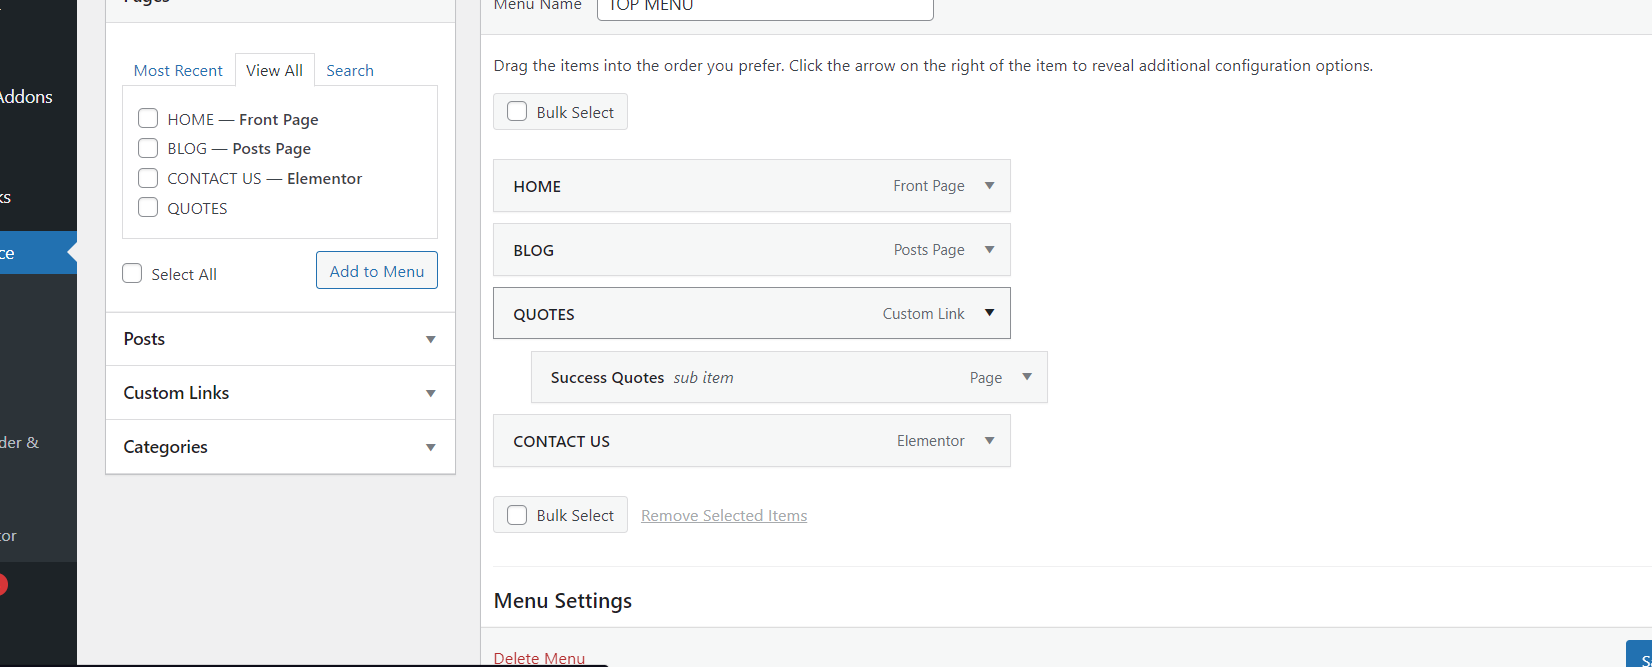
In case you don’t want to create a separate page for your drop-down menu, you just need a heading under which you are planning to add pages. Yes, it is also possible and simple.
Just create a custom link in which enter “#” in the URL and “the text you want in the heading” in the link text.
Okay, I think I have explained menus properly, moving forward to next topic.
Posts
Posts are the main part of any blog website even though we took so much time to come to this creamy part.
After all the setup, what matters the most is the content the user uploads. The creator must engage with the audience in such a manner that he is talking to his friend.
He should sound like advice rather than a business deal. Always-Always think about the benefit of the audience.
Personally, when I started I got confused in the writing part of the process. I was really clueless about how on earth other bloggers are writing such a beautiful content.
Even today I am not a professional writer nor extraordinarily knowledgeable. To be honest I just write from my heart and want to help all other bloggers coming to chase their dreams.
I want to make the knowledge less costly. So, whatever experience I earned to date, I am going to share it all without any greed in mind.
Coming back to the topic. You have to write the blog post in WordPress only.
Trust me this is the best way to write the blog and it is super convenient.
Just go to posts —-> Add new —-> enter the topic you want to write about. That’s it. It has the feature of auto-save and you can even work on more than 1 blog at one time.
Save the draft —-> exit —-> Add new post —-> start writing another post.
I recommend completing one blog at a time because I believe you get more clarity when you work on one project at a time.
Mode of writing
Today in the generation of technology, we are exposed to all types of facilities.
We can :
- Type and write,
- Handwrites and convert into a document,
- Speak and write, or
- Outsource the project.
What is like the most is, type and writing because while writing gives me time to think about the next sentence more easily.
Speak and writing is more helpful when you have a lot to write or some idea came to your mind and you want to write it a little quicker.
In such a case we can finalize the final output later and yes, it saves a lot of time.
Once you have created a lot of content and now you are experienced enough, you can outsource the project and check it before posting. This is helpful when you have enough resources to spend.
You can hire a team if you are working on a large scale. Just try to keep the quality and trust intact, no matter what type of method you choose.
Pro tip: Avoid creating an MS Word document to upload to WordPress because it is not the correct way. Text will be copied but the exact format can’t be copied.
Plugins
When we need to set up our blog, we need some tools that Speed up our website, manage how our website works, preset some rules.
That’s where plugin comes into action. Plugins gives us a lot of add on tools.
For pretty much every need, there is a plugin designed by developers.
Whether it be social sharing icons, compressing images, speeding up the website, designing the website, inserting header or footer, document converter, improve writing, S.E.O, and many more tasks.
S.E.O
Also known as “Search Engine Optimization”. A very important element to set up a blog. Although it works in the back end but matters the most. Don’t over-emphasize the S.E.O thing in the beginning.
When we scale we understand a lot of new things and correct a lot of mistakes.
How does it work?
Any search engine needs some details to identify the needed information to fulfill the search query. S.E.O helps the search engine to find the perfect post to explain that query.
We emphasize some topics in our blog post, so our blog post will be recommended to the audience if they search about that topic.
Google does need some requirements to be met. Some of them are quality content, original content, detailed explanation, consistent uploading, etc.
We have to elaborate on the topic in our post such that search engines could understand that this post is about this particular topic.
we must mention a keyword related to the topic in the post multiple times, These were just some tips related to S.E.O because no one on the earth could tell us how the S.E.O works for the search engines except developers.
Yoast SEO
One of the best SEO tools, I use. This is a must-have tool to set up your blog.
Its icon shows up on the post edit page and indicates the SEO mistakes in real-time.
Basically, when you write any blog post, it must solve a reader’s problem. This is the secret of a successful blog. You can write of your own choice of topics but at least it should solve a problem.
When you write your blog, search engine should also be able to find it on reader’s query and to be found by search engine your page must be SEO friendly.
That’s where Yoast SEO kicks in and pull you out of this problem.
Let me share with you some of the features that Yoast SEO helps us with.
- It helps us when we write a long paragraph and when it will be difficult for the reader to read such a long paragraph. It’s easy for the reader to read 5 short paragraphs instead of one long paragraph.
- It indicates the number of times we are using our key phrase and the number of times it must occur in our blog.
- It indicates a red signal if we are not using a meta description for our blog post.
- It accurately shows the text length we have written in our blog.
- Corrects us if we have used the same key phrase earlier also.
- And many more, literally I have just mentioned one-third of its benefits.
- And yeah, did I mention, All this for free.
Conclusion
This was a complete step-by-step guide to set up a blog correctly. Also what I keep in mind while writing a blog. You can also write a great blog post while keeping my instruction in mind.
What I can assure is a completely honest opinion in my knowledge. If you follow all my steps, it will definitely help you ease in writing with less of confusion and more of confidence.
Rest what matters is your ability to grab knowledge and dedication for success.
Wish you luck, This was Sanyam, signing off, see you soon in my next blog.
Hurry, Time is passing 🙂
Did you know, you can get complete access to the internet world for as low as $2.95 per month?
Sign up today to get the most of benefit.